
Wiring a switch looks straightforward, but the outcome depends on wire type, switch type, and strict safety habits. A single-pole switch works differently than a three-way switch or a dimmer, and mixing up the details can leave you with a switch that doesn't work, or worse, a hazard.
This guide covers whether DIY makes sense for your situation, the tools you'll need, step-by-step instructions, key variables that change the process, common mistakes, and when to call a licensed electrician like Tri-County Electric Service.
TL;DR
- Kill power at the breaker and verify with a voltage tester before touching any wires
- Connect ground, neutral, and hot wires in that order for a standard single-pole switch
- Match terminals to the switch type: single-pole, three-way, dimmer, or smart
- Reversed wires or skipped grounding can cause shocks, fires, or dead circuits
- Simple single-pole swaps are often DIY-friendly; three-way, dimmer, and older wiring usually need a pro
How to Wire a Single-Pole Light Switch
Step 1: Turn Off and Verify Power
Find the correct breaker at your panel and switch it off. Confirm power is off by flipping the light switch; the light should stay dark.
Remove the faceplate, then use a non-contact voltage tester on the wires inside the switch box. Never assume the breaker label is accurate. According to ESFI's Test Before You Touch guidance, cutting power isn't enough: the circuit must be tested before you touch any wire.
Step 2: Remove the Old Switch and Identify Wires
Unscrew the switch and gently pull it from the box. Look for:
- Black wire — hot
- White wire — neutral, usually bypassing the switch
- Bare copper or green wire — ground
- Red wire — a traveler, which signals a three-way setup rather than single-pole
If you see red wires, stop and call a licensed electrician. You're dealing with a three-way setup, not a simple single-pole install.
Step 3: Connect the Wires
Work in this order:
- Ground first — bundle ground wires, attach to the switch's green screw, and bond to the metal box if one is present
- Neutral second — join white wires with a wire connector and tuck them into the back of the box
- Hot last — connect the incoming black hot wire to one brass terminal and the outgoing wire (to the fixture) to the other

Manufacturer instructions matter here. Leviton installation guidance stresses identifying and labeling the hot wire before connecting anything, and following the product diagram rather than assuming function from wire color alone.
Step 4: Secure, Mount, and Test
Fold the wires neatly into the box. Overcrowding a box beyond its fill capacity is a code violation, not just a tidiness issue. More on that below.
Screw the switch in, attach the faceplate, restore power at the breaker, and test for smooth on/off operation.

When Should You Wire a Light Switch Yourself?
DIY depends on your home's wiring age, the switch type, and your comfort working on household electrical systems.
Good candidates for DIY:
- Replacing a single-pole switch in a modern home
- Wiring that's clearly labeled and properly grounded
- Like-for-like swaps that keep the same switch type and wire count
Situations where DIY gets risky:
- Three-way or four-way switch setups
- Dimmer or smart switch installs that require a neutral wire
- Ungrounded or knob-and-tube wiring
- Aluminum wiring
If any of those risk factors apply, hire a licensed electrician instead of forcing a DIY fix.
Local permit rules also matter when you add a new circuit or fixture rather than a like-for-like swap. Requirements vary by jurisdiction, so check with your local authority before going beyond a basic replacement.
What You Need Before Wiring a Light Switch
Having the right tools on hand before you start prevents mid-project surprises and safety shortcuts.
Tools & Testing Equipment:
- Flathead and Phillips screwdrivers for the switch and cover plate
- Wire strippers/cutters for clean conductor prep
- Needle-nose pliers for bending and positioning wires
- Non-contact voltage tester to confirm power is off
- Multimeter to verify hot, neutral, and ground
Materials:
- The correct replacement switch (single-pole, three-way, dimmer, or smart)
- Wire connectors (wire nuts) sized for your conductors
- Electrical tape for securing connectors and quick labels
Safety readiness:
- Locate the correct breaker and confirm the circuit is dead before you open the box
- Keep hands and work surfaces dry
- Stop if you find damaged, unfamiliar, or aluminum wiring
Key Variables That Affect Light Switch Wiring
Wiring outcomes hinge on a handful of variables. Get any of these wrong, and the switch either won't work or won't be safe.
Switch Type
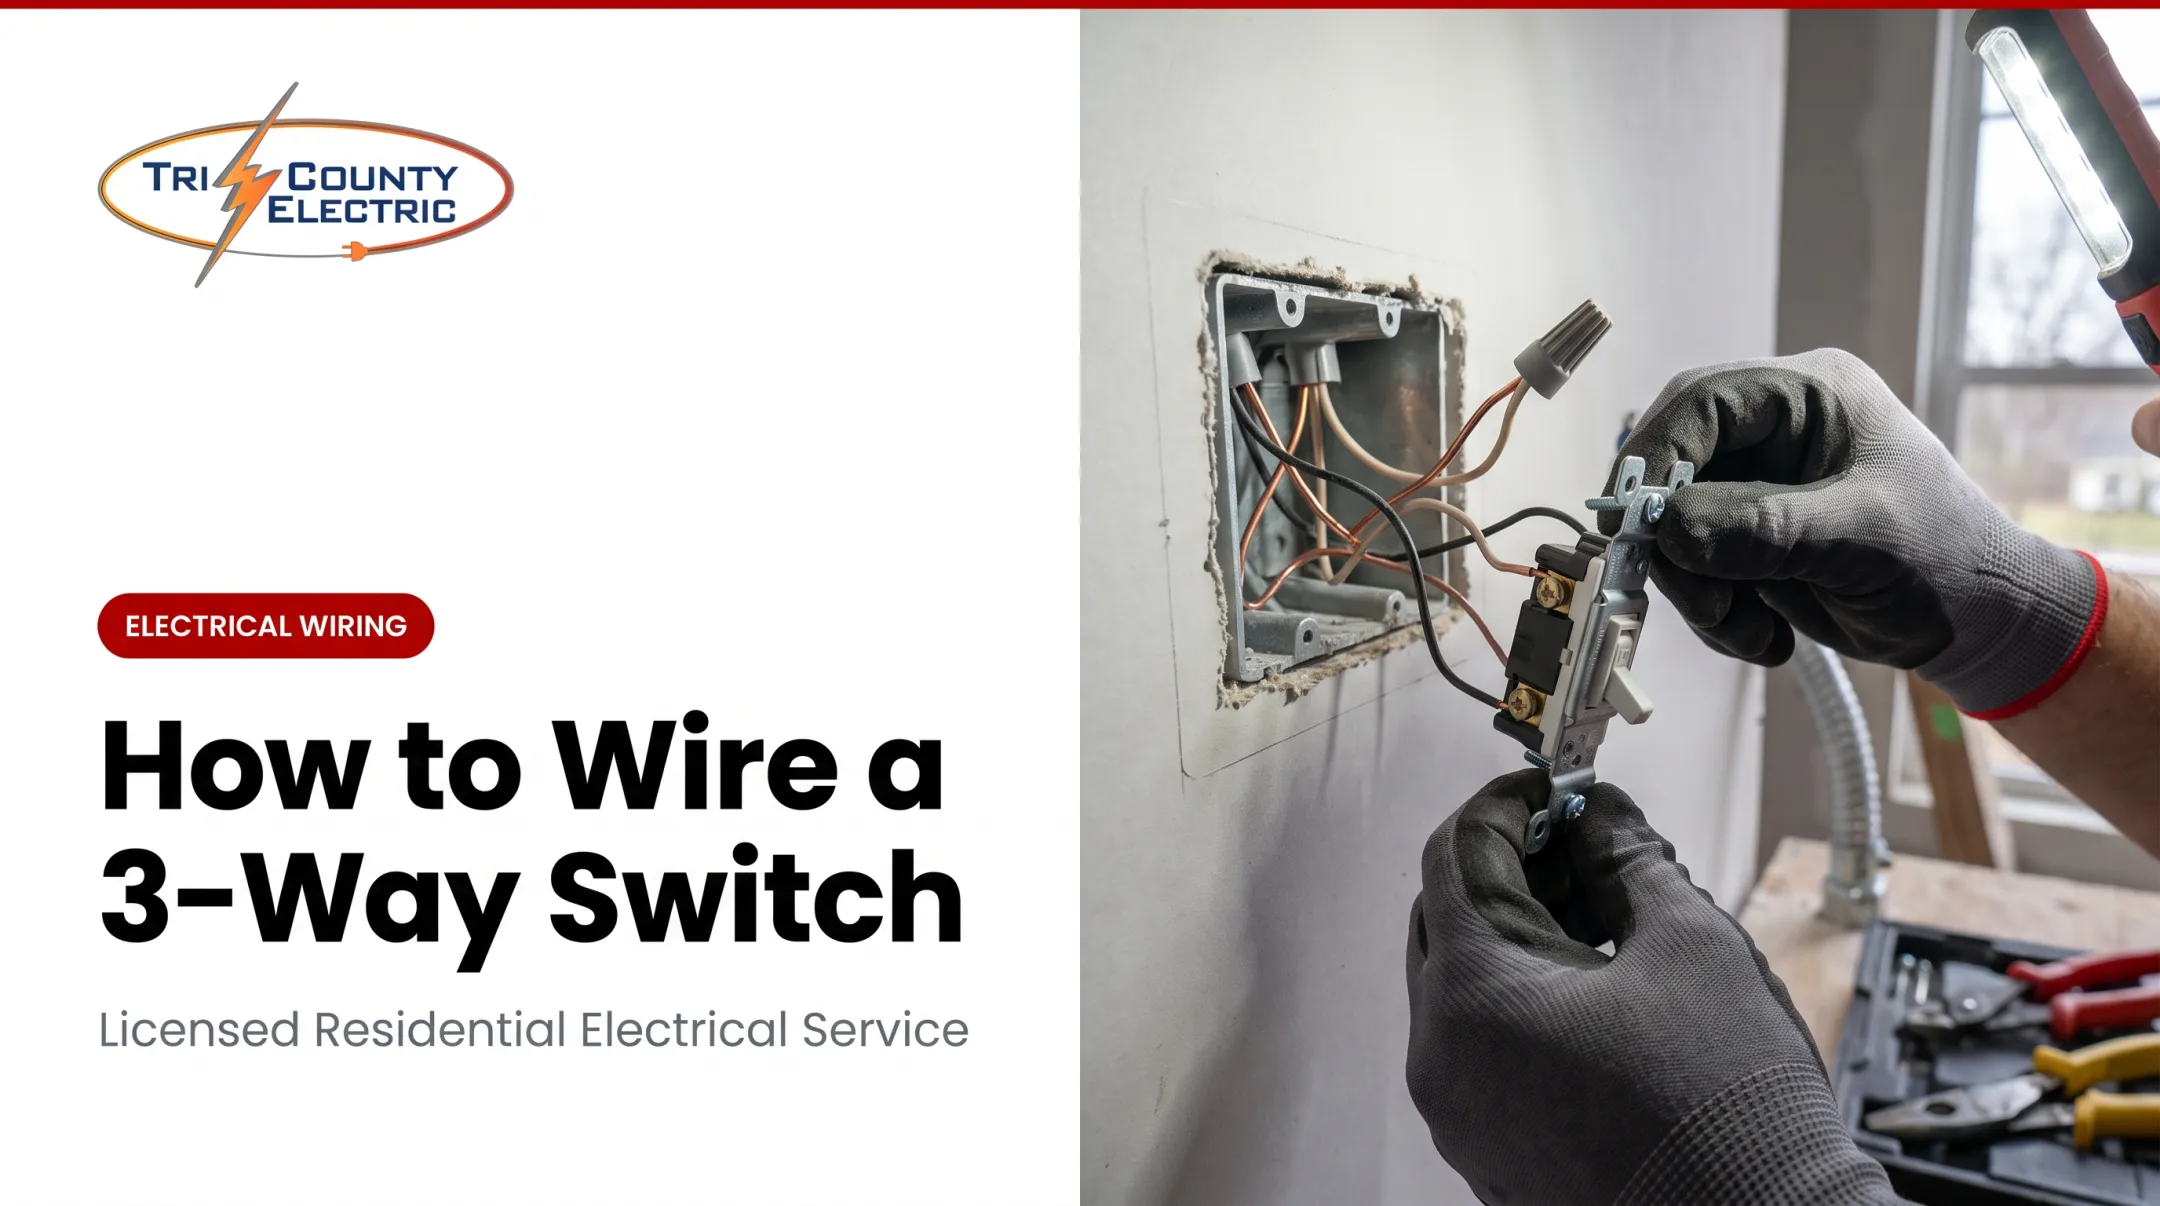
Single-pole, three-way, and dimmer switches each use different terminal layouts. A single-pole typically has two brass terminals, while a three-way uses a common terminal plus traveler terminals. Misidentifying the common terminal on a three-way switch causes non-functioning or unsafe circuits.
Wire Gauge and Circuit Amperage
Wire gauge has to match the circuit's amp rating. Mismatched gauge and breaker rating can cause overheating. Always confirm the correct pairing against your locally adopted electrical code rather than guessing from a generic chart.
Presence of a Neutral Wire
Smart switches and many dimmers need a neutral wire to power their internal components. Lutron notes that neutral-based dimmers typically support a longer list of compatible loads and are recommended for LED lighting.
Not every model works the same way. Some Lutron switches, like the PD-5WS-DV, don't require a neutral at all. Check your specific device's instructions before assuming either way.
Grounding Configuration
Older homes may lack a ground wire in the switch box entirely. Missing grounds compromise shock protection and may require GFCI protection or other remedies under the National Electrical Code.

Common Mistakes When Wiring a Light Switch
Even careful DIYers slip up. The most frequent issues:
- Reversing hot and neutral connections: the switch may still work but becomes unsafe
- Skipping the ground connection or failing to bond it to a metal box
- Overcrowding the box past fill capacity, which can cause overheating (code counts every conductor, clamp, fitting, switch, and ground)
- Using backstab connections instead of wrapping wires on terminal screws; pros prefer screws or pigtails over backstabs (Family Handyman)

If the box is already crowded or the wiring looks nonstandard, stop and call a licensed electrician.
Troubleshooting Common Light Switch Wiring Issues
Light Won't Turn On or Off
A loose hot wire connection is the usual culprit. On a three-way switch, incorrect common or traveler terminal wiring can also leave the light stuck on or off.
Check every terminal connection and confirm the common and traveler wires sit on the correct screws.
Switch Feels Warm or Buzzes
Heat and buzzing usually point to a loose connection or an overloaded circuit. Shut off power to the switch, then tighten all terminal screws.
ESFI treats a hot wall plate or unusual odor at the switch as a warning sign. Stop using it and have a qualified electrician inspect the circuit.
Lights Flicker
Loose wire connections at the switch, fixture, or panel commonly cause flicker. Inspect and re-secure all wire nuts and terminal screws.
If you use a dimmer with LED bulbs, confirm both the bulb and the dimmer are rated for each other. Incompatible pairings are a frequent source of flicker.
If the problem continues after these checks, stop DIY troubleshooting and call a licensed electrician.
When to Call a Licensed Electrician
Some wiring scenarios carry enough risk and code complexity that DIY simply isn't worth it:
- Three-way, four-way, or smart switch installs requiring a neutral wire
- Homes with knob-and-tube, aluminum, or ungrounded circuits
- Boxes with unclear line/load wires or a missing ground
- Work that needs a permit, AFCI/GFCI updates, or panel changes
For those jobs, a licensed electrician is the safer call.
Tri-County Electric Service has served Northeast Ohio for nearly 50 years, with licensed electricians who upgrade knob-and-tube and aluminum wiring to current code. Free estimates, upfront pricing with no upselling, and same-day service cover switch replacements and wiring upgrades.
If your switch box has warning signs — warmth, buzzing, or a burning smell — don't wait. Call (440) 583-6895 or schedule online.
Frequently Asked Questions
What happens if you mix up the live (hot) wire and the load wire on a light switch?
On a standard single-pole switch, the two brass terminals are interchangeable, so swapping hot and load usually won't cause an issue. On three-way or smart switches, mixing up wires connected to the common terminal can cause malfunction or safety hazards.
Can you wire a light switch backwards?
A basic single-pole switch can't be wired "backwards" because both terminals serve the same function. Three-way switches and smart switches with neutral wires, however, can be miswired if travelers or hot/neutral connections get swapped.
Do all light switches need a ground wire?
Modern switches include a ground screw required by code. Older homes may lack a grounding conductor in the box entirely; have a licensed electrician evaluate safe replacement options before you proceed.
What is the red wire for on a light switch?
Red wires are typically travelers in three-way setups, or occasionally a secondary hot in specific configurations. Never treat a red wire as neutral.
How do I know if my light switch wiring is a fire hazard?
Warning signs include a warm switch plate, buzzing sounds, burning smells, or flickering lights. Any of these calls for immediate inspection by a licensed electrician.
Do I need a permit to replace a light switch?
A simple same-type switch replacement typically doesn't require a permit, but adding new circuits or fixtures may. Requirements vary by local jurisdiction, so check before starting any work beyond a basic swap.